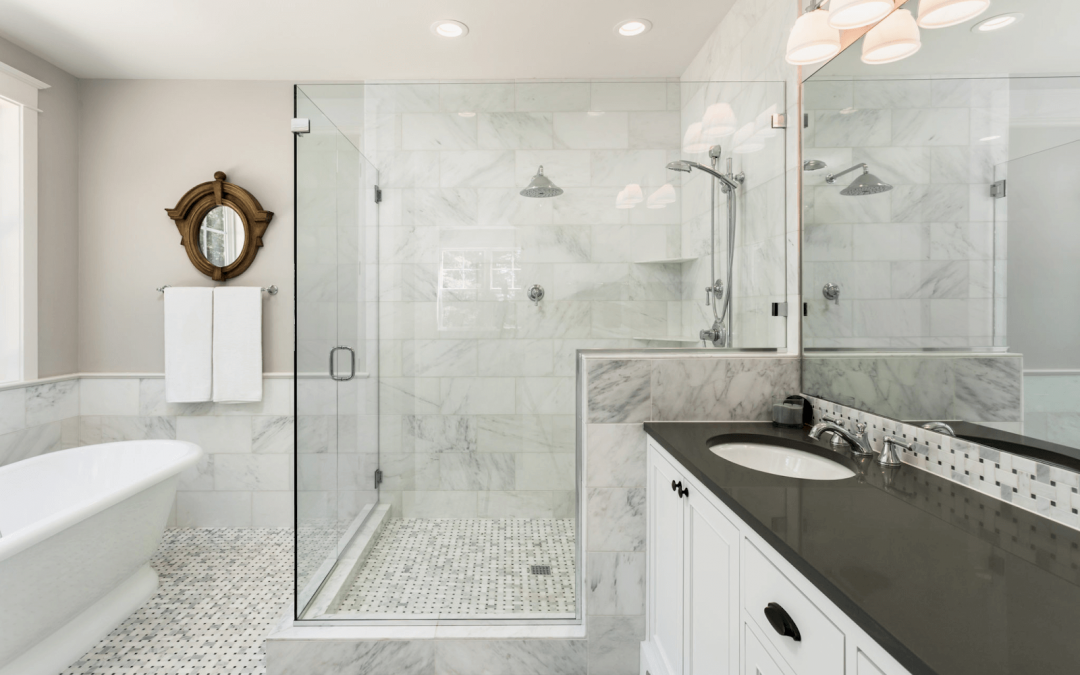
Is ceramic tile good for shower walls?
Is ceramic tile good for shower walls?
Ceramic tiles are ultimately popular for shower walls because they are long-lasting and durable. If you have chosen light fixtures, such as a vanity mirror or a bathtub then the more you need to consider using ceramic tiles. Today on the blog, let’s look at some reasons why it may or may not be good for your shower walls.
The Benefits of Using Ceramic Tiles for Your Shower Walls
Wondering whether using ceramic tiles for your shower walls is in any way better than other materials/ We’ve got the best list of the benefits of using these materials for your shower walls.
It is durable.
Ceramic tiles are very durable. When it comes to the composition and material quality, there is no surprise that ceramic tiles are on the top lists. This is why it also makes a great material for your shower walls.
Ceramic tiles are also easy to clean and maintain. They can last for years with very little care. Since they are durable, they also make great material for the underfoot, shower surrounds, backsplashes, and countertops.
Grade 1-2 is enough strength of ceramic tiles that you can use for your bathroom. However, if you have kids or higher levels of traffic, we recommend that you choose a higher grade to accommodate extra wear and tear.
It is waterproof.
Of course, when you choose materials for your bathroom walls, you would want something that is waterproof. The bathroom is the one in your home that is most exposed to water. Moisture can easily build upon the ceilings and walls as you use your hot shower, wash clothes, or bathe in the tub.
Ceramic tiles offer waterproof capability that stops water from absorbing through the walls. Moreover, you can easily wipe excess water and moisture on its surface.
It is Environmentally Friendly.
Many people presume using ceramic tiles to be harmful to the environment. This is why many homeowners turn to cork or bamboo floors to reduce their carbon footprint. But you don’t realize is that ceramic tiles are actually environmentally friendly.
If you buy post-industrial ceramic tiles, you can help the environment without sacrificing the aesthetics of your bathroom. Moreover, since ceramic tiles are more durable, you can save time and manpower doing repairs from time to time.
Sometimes, it is the repair that causes harm to the environment. It brings noise pollution and air pollution brought by the debris in the repair process.
It doesn’t trap pollutants.
Since ceramic tiles are glossy, any particulate matter would just slide through the surface. This makes the material a great option if anyone in your family suffers from asthma or allergies. The sturdy, durable surfaces don’t trap irritants, everyone in the family can breathe easier.
It is easier to clean and maintain.
Since ceramic tiles don’t absorb stains and scratches, they are very easy to maintain. You can just splash water on your tiles after you bathe. Or you can use a steam vacuum cleaner to clean and disinfect.
Since ceramic tiles are non-porous, they do not develop molds. Unless you soak them in water for a long period of time, they may grow some molds.
The design options are endless.
Ceramic tiles come in a variety of colors and designs, which gives you the freedom to smartly choose the best for your bathroom. Specific styles include wood-look, glossy white, metro brick, and encaustic-effect. You may go for classic colors like white, black, or beige. Or you may also go for bold ones to create a statement in your bathroom.
Ceramic tiles also come in various sizes. You can choose between 10cm x 10cm or 60cm x 120cm. Depending on the size of your bathroom, you need to ensure that the size of your tiles is proportional.
What are the Cons of Using Ceramic Tiles for Shower Walls?
It has a low heat retention capacity.
If you install ceramic tile flooring in your bathroom, you should note that it has a low heat retention capability. That means it won’t be able to give you enough protection against the cold during the cold winter month.
To remedy this situation, you can add rugs and carpets to your bathroom. If you live in areas where snow is typical, expect to feel the chill when you step on the ceramic tiles. In any case, you may consider installing an underfloor heating system underneath the tiles. This will add thermal comfort to your new floor.
It is not the most affordable option in the market.
While ceramic tiles can last longer than other options, they don’t come cheap. Installing ceramic tiles for your bathroom walls and floors can cost more than installing linoleum. Nevertheless, this expensive price is compensated with longer durability.
On the other hand, ceramic tiles cost less than granite, marble, and other high-end tiles. If you want your bathroom to look elegant and shiny, you should consider using ceramic tiles.
It requires a professional for installation.
While installing ceramic tiles, it is best that you hire a professional to do it. Measuring and cutting tiles to fit corners and conspicuous spaces can be difficult for rookies. Hence, you need to spare some extra budget for the installation.
Vinyl and linoleum floors require less effort. But while you can DIY its installation, it is not the best option for bathrooms.
The Bottomline
Ceramic tiles are great for bathroom walls and floors. Although they are not the most affordable option, they provide the durability you need for them to last for years. They are also very easy to clean and maintain, helping you save time and money for maintenance.
Since they come in various colors and designs, you can freely choose the color that best suits your shower walls. Got a small space? No problem.
Ceramic tiles come in various sizes to fit every bathroom’s needs. You can choose smaller tiles to be in proportion for your smaller bathroom or opt for the bigger ones.

Home Pro Partners
Skilled laborers... publish a Home Pro Partner profile and invite trusted referral partners to your company profile.
Reach new customers with Home Pro Partners, no lead fees, no gimmicks, no hassle.
Recent Comments